Saturday, April 23, 2011

Leafy Headband

Headbands are lots of fun and they can turn a little girl into a fairy princess quickly. The best headbands are deceptively simple.  Here's one that's just begging for a pretty flower!

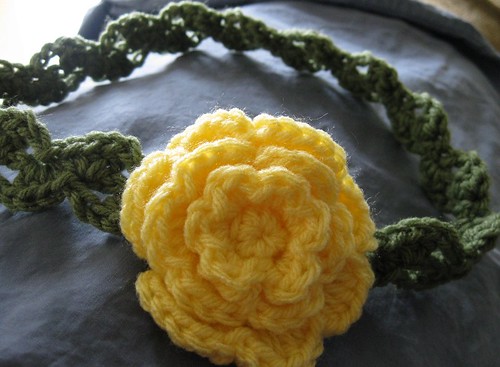
leafy headband with flower

To make this headband, you first need to measure your head or the head of the cutie you are making it for.  Your initial chains will be based on this measurement.

Stitches needed:
double crochet
half double crochet
single crochet
slip stitch

Cluster: DC, HDC, SC in the same stitch, followed by a SL ST in the next stitch, then CH 2.

Leafy headband:

Chain 4 for every inch of your head's measurement + 3 chains.

In the 4th chain from the hook, do the cluster (DC, HDC, SC in the same stitch. SL ST in the next stitch). *CH 2. Skip 2 CHs, cluster, (Repeat from * to end). DO NOT TURN.

CH 2 and working around on the other side (DC, HC, SC in the same stitch in the 3rd st.  SL ST in the next stitch. *CH 2. Skip 1 CH, cluster. Repeat from * to end. At the end, you will finish with a DC, HDC, SC in the same ST.  Put the ends of the band together and SL ST them together (I did two).  Fasten off and weave in ends.
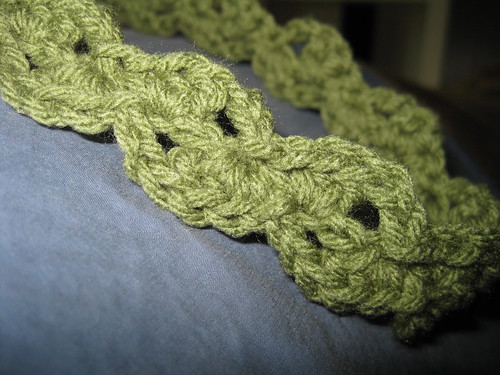
IMG_1585

Attach your favorite flower or flowers!
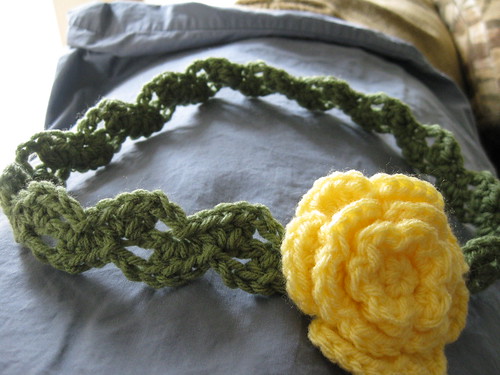
IMG_1588

Enjoy!

copyright 2011

Thursday, April 21, 2011

Testing an Idea

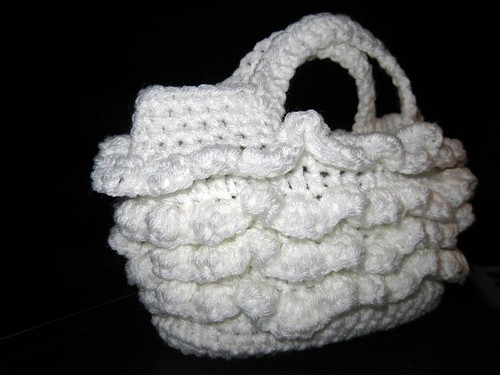
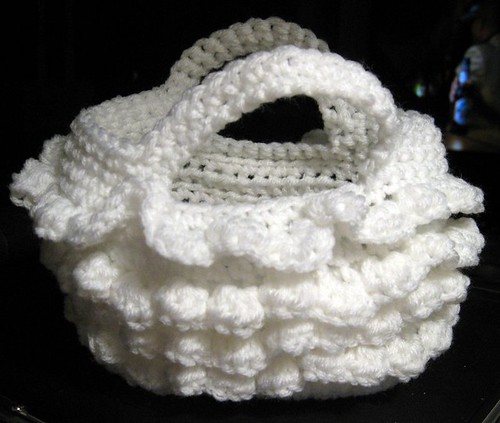
In my head, I have this image of a bag.  It's tall and has ruffles. Lots of them. In happy colors.

I've been thinking about the pattern for the past few days and I decided to make a small version to test the stitches I was thinking about.

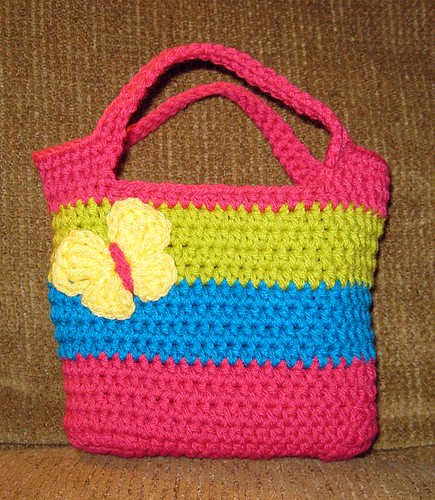
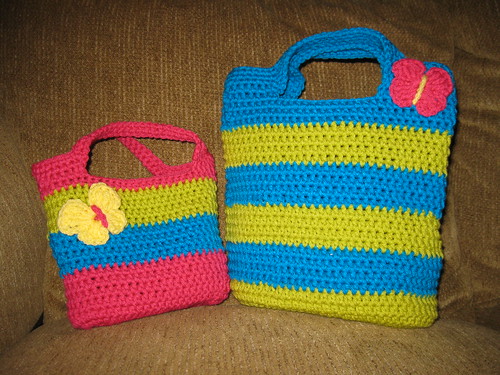
This is my test bag.

IMG_1565

IMG_1569

Don't you love the ruffles?  Can you just imagine the ruffles on a larger bag?

Oh, I can't wait to start the real one!

Saturday, April 16, 2011

Ever see something and think: I can make that?

Yesterday, Tangled Happy featured a rose pillow designed by the women over at Two Girls Being Crafty.  It is really cute, but their directions seemed rather unnecessarily involved.  In the post, they featured a picture of a pillow at Pier 1 that was their inspiration.   When I looked at that, I instantly knew how it had been made.  My brain would not shut off thinking about starting the pillow.

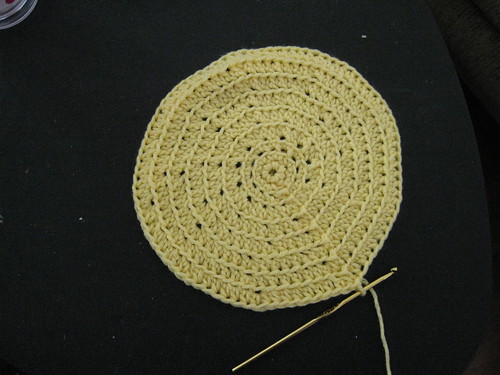
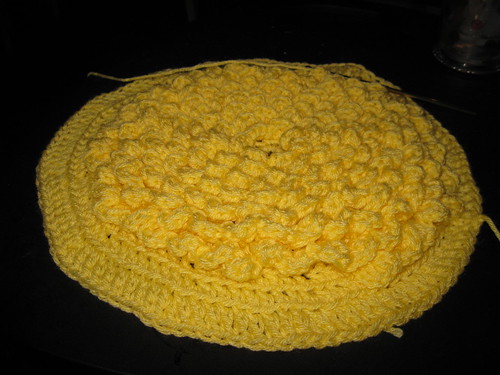
To make the rose/flower pillow, you need to make a circle.  Not just any circle, a really big circle.  Mine is over 12 inches in diameter.  I used a G hook and worsted weight yarn.

Row 1:  Chain 2 and crochet 6 sc into the the 2nd chain from the hook.  Sl st to complete the round and chain 1.

Row 2:  2 sc in each stitch to the end, sl st to complete the round.  Chain 1.
Row 3: *1 sc in next st in back loops only, 2 sc in next st in back loops only*.  Repeat to end  and sl st to complete round. Chain 1.
Row 4: *1 sc in the next 2 st in back loops only, 2 sc in the next st in back loops only* Repeat to end and sl st to complete round.  Chain 1.
Row 5: *1 hdc in next 3 st in back loops only, 2 hdc in next st in back loops only* Repeat to end and sl st to complete round.  Chain 1.

Continue each row using hdcs and taking care to crochet in back loops only.  In each consecutive row, increase the number of stitches with 1 hdc, followed by 2 hdc in the next st.

IMG_1628

My circle has a total of 10 rows.  At the end of your final round, sl st to complete round, fasten off.

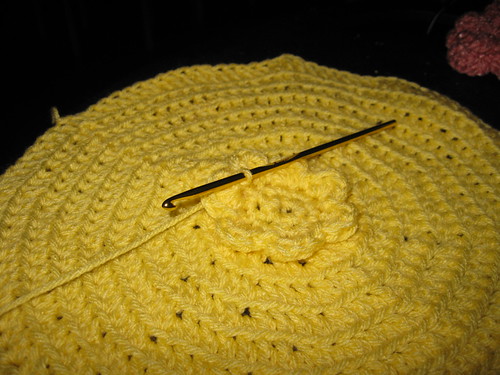
Petals, starting in the row of exposed front loops closest to the center.  Slip stitch in one of the loops and chain 2.  *Crochet 4 hdc in the same loop, sl st in next loop*, repeat to end.  Use this pattern in each row of front loops, sl st and fastening off at the end of the round.

IMG_1633

IMG_1638

I'm almost done with the petals.  Now all I need is a pillow to cover and to crochet the giant circle I will attach as the back to this one.  I plan to use the reverse sc to create a border where the two pieces are joined.

Check back soon!

UPDATE: And here it is!


It makes me so happy.  It sits on the chair next to my desk at work.

Sunday, April 10, 2011

Adult Football Jersey Hat

After I made Gracie and Lukie's hats, Daddy asked me for one. It took awhile to make sure that it was big enough for Daddy's head and the jersey look fit it.

This is the pattern for the adult size jersey hat.

Begin with Navy Blue yarn.

Ch 4, join to form a ring.

Rnd 1: Ch 1, 8 sc in ring; join to first sc -- 8 sts.

Rnd 2: Ch 1, 2 sc next st and  2 sc in each st around; join to first sc -- 16 sts.

Rnd 3: Ch 1, * 2 sc in next st, sc in next st. Repeat from * around; join - 24 sts.

Rnd 4: Ch 1, sc in next st, * 2 sc in next st, sc in next 2 sts; repeat from * around; join – 32 sts.

Rnd 5: Ch 1, sc in next 2 st, * 2 sc in next st, sc in next 3 sts; repeat from * around; join – 40 sts.

Rnd 6: Ch 1, sc in next 3 st, * 2 sc in next st, sc in next 4 sts; repeat from * around; join – 48 sts.

Rnd 7: Ch 1, sc in next 4 st, * 2 sc in next st, sc in next 5 sts; repeat from * around; join - 60 sts.

Rnd 8: Ch1, sc in next 5 st, * 2 sc in next st, sc in next 6 sts; repeat from * around; join - 72 sts.

Rnds 9-13: Ch 1, hdc in the same space and hdc in each st around; join.

Change color to white yarn.

Rnds 14-15: Ch 2, sc in each st around; join.

Change color to orange yarn (I used "Carrot" by Red Heart).

Rnds 16-18: Ch 2, hdc in each st around; join.

Change color to white yarn.

Rnds 19-20: Ch 2, sc in each st around; join.

Change color to navy blue yarn.

Rnds 21-22: Ch 2, hdc in each st around; join.

Fasten off.

Weave in ends.

Friday, April 8, 2011