Showing posts with label handbag. Show all posts

Sunday, June 12, 2011

A quick tablet cover

I was trying to follow a pattern to make a cover for my new tablet and it just wasn't working. I think I pulled it apart three times. Finally, I decided to just crochet one of my purse patterns on a smaller scale. This cover was made with v-stitches in the round. What makes me so happy about it is that I crocheted a pull through strap so that my tablet won't fall out.

I think I'm in love!
It's so easy to make! 
Yarn:  Worsted Weight
Hook:  H
Row 1 (in the round) Chain 12 and crochet 5 sc in the second chain from hook.  Crochet 1 sc in each chain and crochet 5 sc in the last chain.  Crocheting around to the other side of the chain, 1 sc in each chain to end.  Slip stitch in the first sc.
Row 2: Chain 2 and hdc in same st.  Skip 1 sc and 2hdc in next st.  Continue pattern (skip 1 sc and 2hdc in next st) to end.  1hdc in the same st at the original chain 2 and slip stitch to the top of the first hdc.  Slip stitch in to space.
Row 3- 18: repeat row 2.
Row 19-21: Chain 1 and 1 sc in each stitch around.  Slip stitch to original sc.
Row 22: Chain 1 and sc in the next 5 stitches.  Chain 20 and skip 6 stitches.  Sc in the 7th stitch and continue sc in the next 10 stitches.  Slip stitch in the next 6 stitches and sc in the remaining stitches to the end.  End with a slip stitch in original sc.
Row 23: Sc in each stitch around (optional: skip first two stitches of the chain and slip stitch into the third chain.  Sc in each of next 15 stitches.  Skip last two chains and slip stitch into first sc after chains - continue 1 sc in each chain around to end. Slip stitch in first sc.)
Row 24: Sc in each stitch around (optional: skip first two stitches of the loop and slip stitch into the third sc.  Sc in each of the next 13 stitches.  Skip the last two sc and slip stitch into the first after handle.  Continue 1 sc in each chain around to end.) Slip stitch in first sc and fasten off.  Weave in ends.

P.S. I took this picture with my new Samsung tablet!

Sunday, May 8, 2011

Mother's Day Gifts!

Let's face it, you can buy people gifts, or you can make them yourself!  This year, I used my crochet powers to make my Mom and my sisters some Mother's Day gifts.

My sister, Rebecca, wears towels when she cooks. For her, I made an apron.
See those Grannies?  I designed those!

Butterflies!

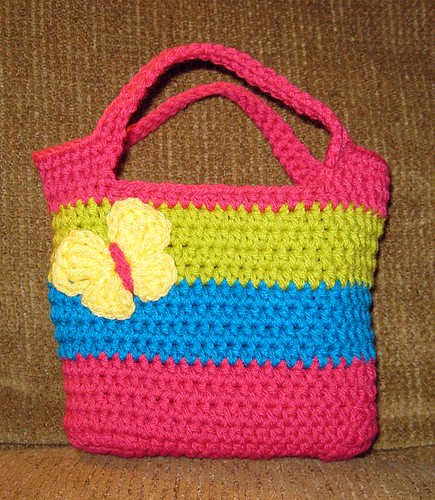
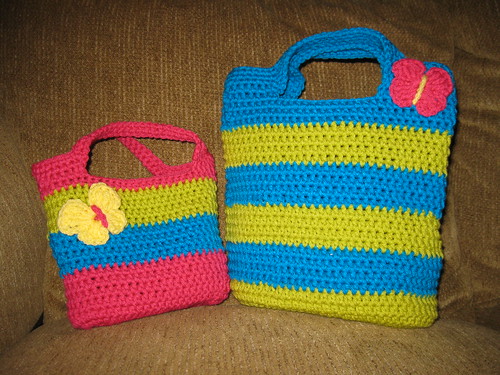
For my Mom, I made a small tote bag.  I love how the flower turned out!


Finally, for Kristen, I made a large handbag/totebag to match the Nook cover I made her for Christmas.

See those ruffles? They were an experiment!
I'm so proud of these projects and everyone seemed happy with them too.

Thursday, April 21, 2011

Testing an Idea

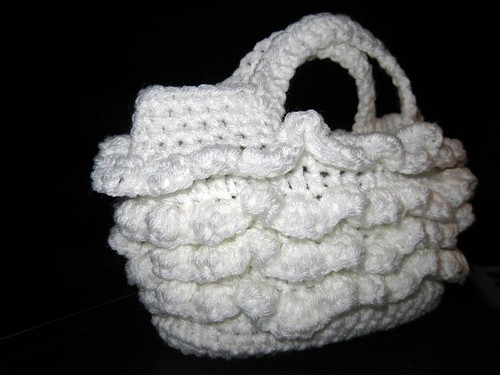
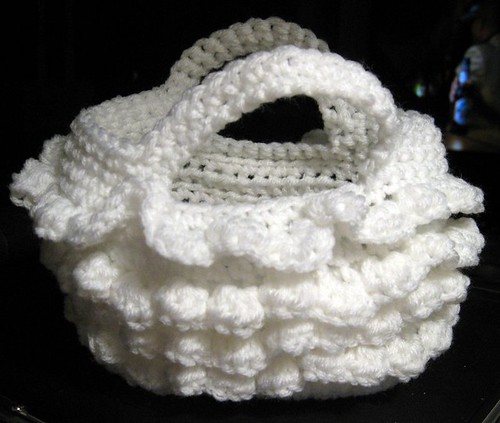
In my head, I have this image of a bag.  It's tall and has ruffles. Lots of them. In happy colors.

I've been thinking about the pattern for the past few days and I decided to make a small version to test the stitches I was thinking about.

This is my test bag.

IMG_1565

IMG_1569

Don't you love the ruffles?  Can you just imagine the ruffles on a larger bag?

Oh, I can't wait to start the real one!

Friday, April 8, 2011

Thursday, April 7, 2011

Spring Stripe Bag

Yesterday's Flower Burst Bag inspired me to design a bag of my own. The Flower Burst Bag does not have a flat bottom, so it really can't stand on its own. That has been kind of frustrating (even though I seriously love that bag).

Last night, I started playing with the idea of a flat bottomed bag by making a long oblong shape.


You can see how the rows keep circling the center. I started with a chain of 13 and crocheted 2 sc in the 2nd stitch from my hook and 1 sc in each of the next 10 stitches. In the 11th stitch, I crocheted 2 sc, chained 1, crocheted 2 sc on the other side of the chain. I continued down that side, 1 sc in the next 10 and 2 sc in the 11th space. Then, I slip stitched to close the oblong shape. Then, I chained 1, 2 sc in the next 2 stitches, 10 sc, 2 sc in the next two stitches, 2 sc in the end stitch, 2 sc in the next two stitches on the other side, 10 sc and 2 sc in each of the end stitches with a sl st to close.. It gets a bit more complicated the more layers you have, but basically, the end turns always have 2 sc in each stitch to help the curvy turn and there is 1 sc on the straight sides. On Row 4 and beyond, I continued the pattern, but instead of chain 1 and single crochets, I switched to chain 2 at the beginning of the row and half double crochets. Once the base was as large as I wanted it to be (Row 6), I began crocheting one hdc in each stitch around and slip stitched to end each row. This began the shape of the bag.

After I completed 8 total rows of green, I switched to the aqua color and crocheted 4 rows of hdcs. I repeated the 4 rows of hdcs of alternating colors until I decided it was tall enough and then I did 3 rows of hdcs and began my handles. I did the same handles as with the Flower Burst Bag yesterday.

Ta-da!

You can find the pattern for the butterfly at Little Birdie Secrets blog. They are totally easy and so quick to make that I can make one in about 3 minutes.

Don't you love this bag? I was thinking of giving it to someone, but I think I am going to use it as my purse!

Wednesday, April 6, 2011

The Flower Burst Handbag

After my Hex-y Tote bag, I got a little excited about bags.  I found a lot of free patterns, but the Flower Burst Handbag intrigued me. It is made with a whole lotta single crochets, but has a band of open flowers around the center.  It's adorable!

The original bag on The C Side blog was a solid green and absolutely fantastic.  It is perfect for a vacation or a trip to the beach.  The bag is unlined so you can see through the flower motif.

The pattern was fairly simple, but I lost count somehow and ended up with more flowers than could fit in the base of my bag.  I also lost count above my flowers and had to wing it a bit.  Hopefully, the result isn't too off what the designer intended.


I decided to use some coordinating colors I found at Michael's: purples, greens.  Don't you love the colors?  Overall, I'm very happy with the outcome!

Take a trip over to The C Side to see her other designs.