
To make the rose/flower pillow, you need to make a circle. Not just any circle, a really big circle. Mine is over 12 inches in diameter. I used a G hook and worsted weight yarn.
Row 1: Chain 2 and crochet 6 sc into the the 2nd chain from the hook. Sl st to complete the round and chain 1.
Row 2: 2 sc in each stitch to the end, sl st to complete the round. Chain 1.
Row 3: *1 sc in next st in back loops only, 2 sc in next st in back loops only*. Repeat to end and sl st to complete round. Chain 1.
Row 4: *1 sc in the next 2 st in back loops only, 2 sc in the next st in back loops only* Repeat to end and sl st to complete round. Chain 1.
Row 5: *1 hdc in next 3 st in back loops only, 2 hdc in next st in back loops only* Repeat to end and sl st to complete round. Chain 1.
Continue each row using hdcs and taking care to crochet in back loops only. In each consecutive row, increase the number of stitches with 1 hdc, followed by 2 hdc in the next st.
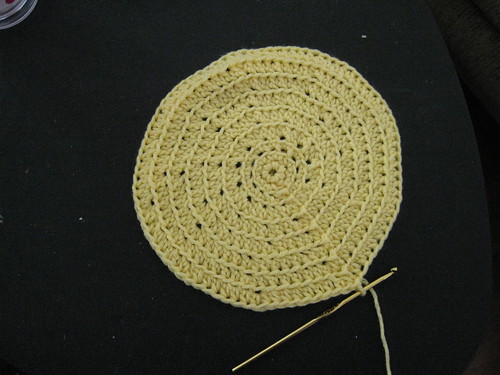
My circle has a total of 10 rows. At the end of your final round, sl st to complete round, fasten off.
Petals, starting in the row of exposed front loops closest to the center. Slip stitch in one of the loops and chain 2. *Crochet 4 hdc in the same loop, sl st in next loop*, repeat to end. Use this pattern in each row of front loops, sl st and fastening off at the end of the round.
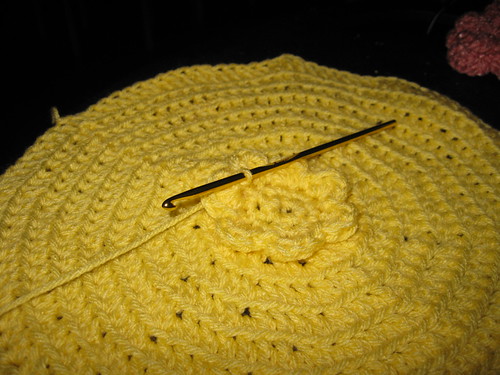
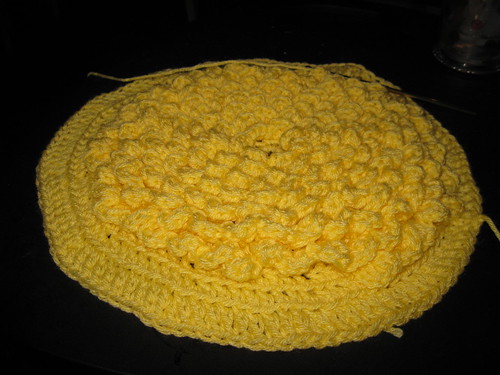
I'm almost done with the petals. Now all I need is a pillow to cover and to crochet the giant circle I will attach as the back to this one. I plan to use the reverse sc to create a border where the two pieces are joined.
Check back soon!
UPDATE: And here it is!


It makes me so happy. It sits on the chair next to my desk at work.
No comments:
Post a Comment
Note: Only a member of this blog may post a comment.